Your Cart
Your shopping cart is currently empty.
Kitchen
All things cooking, cleaning, chilling and more for the hard-working heart of your home.
KITCHEN | 9 SEPTEMBER, 2024
7 MIN READ
How to defrost your fridge or freezer
Defrosting will keep your fridge or freezer working more efficiently, making it safer for your food and cheaper to run.
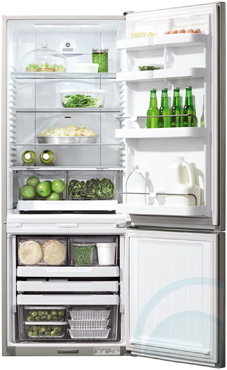
If you’ve had your fridge or freezer for a while now, there’s a chance that its interior may start to resemble Antarctica – all frost and ice, but without the fun of penguins.
Here’s our guide to defrosting your fridge or freezer and removing that icy build-up so your appliance can keep running smoothly.
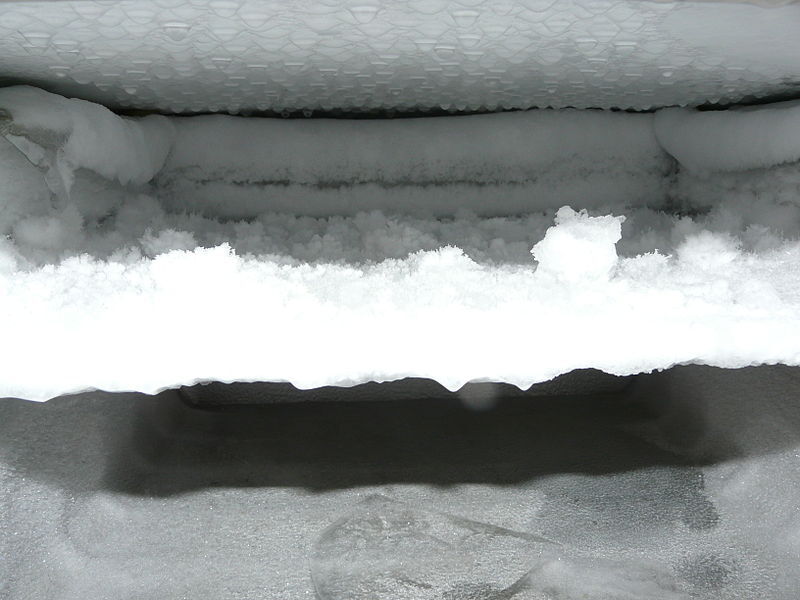
Why is my freezer frosting up?
Frost inside your freezer is often caused by moisture from outside air condensing and freezing, which can interfere with the proper running of your fridge. The ice can block the fridge’s ventilation ducts or interfere with proper airflow, leaving colder or warmer sections throughout the fridge and potentially spoiling some of your food.
Your fridge may then start to compensate for these temperature fluctuations by working its compressor extra hard, which can have the unfortunate side effect of bumping up your energy bills (something none of us need any help with).
Opening and shutting. When you open your fridge or freezer, warm, moist air from your kitchen enters and condenses. Once the fridge shuts and the temperature drops, this moisture freezes, leading to ice build-up.
Hot food in the fridge. If you put your leftovers away while they’re still warm, the temperature difference can have a condensation effect. Plus, if the food is still steaming hot when you put it in the fridge, the steam will introduce additional moisture to the fridge.
Bad seals. If your fridge door doesn’t seal properly, warm air from your kitchen can leak into the cool fridge even when it’s closed, creating temperature fluctuations.
1. Prepare your fridge or freezer
Before you start defrosting your fridge or freezer, you’ll have to work out what to do with the contents.
Defrosting the freezer can be a good excuse to pig out on everything you’ve been meaning to get rid of in one gigantic, gluttonous feast. You could even turn it into a bit of a party!
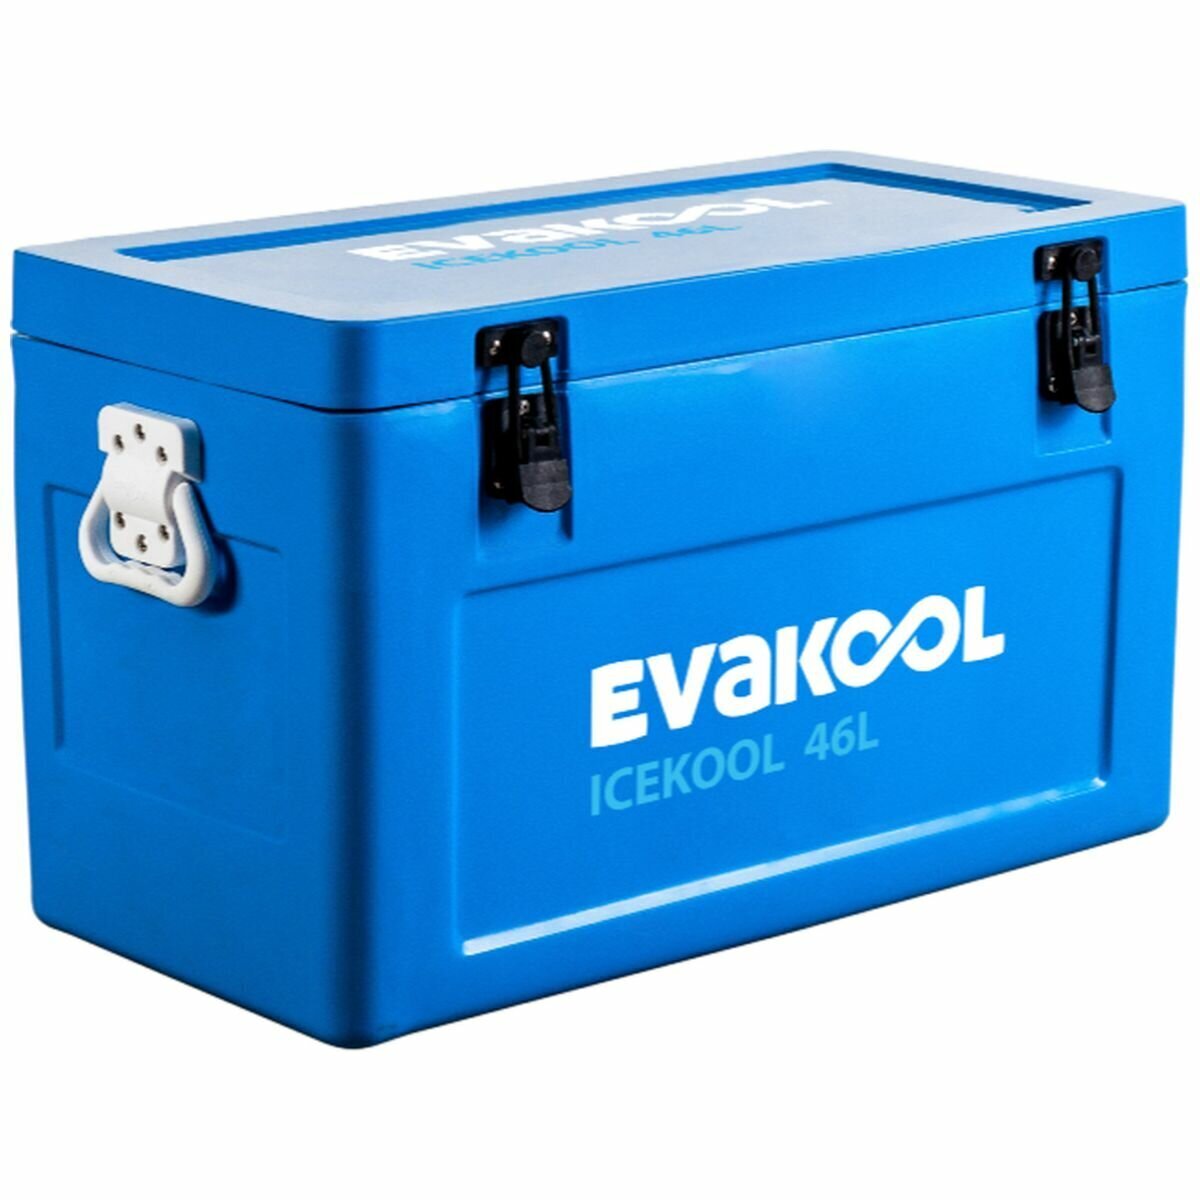
If you’re less inclined to such gross indulgence, though, you can stick your food in an Esky or Styrofoam box with a lid while the defrosting takes place. If it looks like it will take a while, think about tossing in some cold packs or bags of ice to maintain a decent temperature.
Insulated cooler bags can also be handy – you can grab some of these at the supermarket or bottle shop for a few dollars. Also, removing the food is a great time to take an inventory of exactly what you’ve been storing, and decide whether that frost-burnt lump of mystery meat is actually worth keeping...

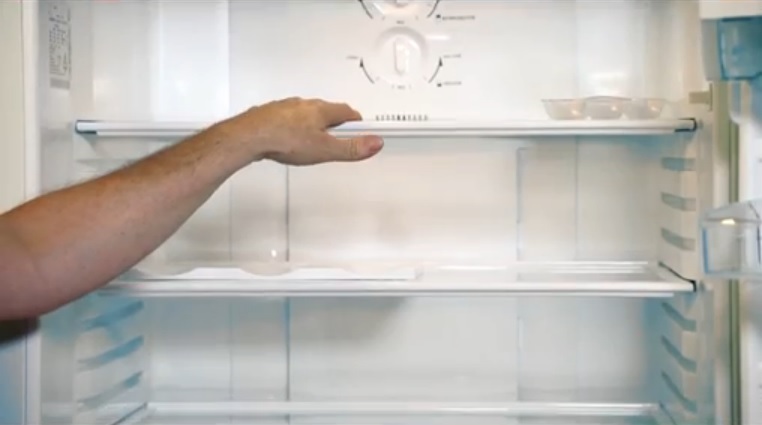
2. Remove the shelves and drawers
The emptier your fridge, the easier it will be to access its surfaces for defrosting and cleaning. Carefully take out all shelves, drawers, and any detachable compartments. This not only gives you better access to the icy areas but also prevents these parts from getting damaged.
While the freezer's defrosting, take the opportunity to clean the shelves and drawers with warm, soapy water. Make sure you dry them properly as well, or you'll be fast-tracking the start of the next big freeze!

3. Collect leaking water
As your fridge or freezer defrosts, you’ll experience a steady flow of water as the ice melts. Set up a shallow tray in front of your fridge to collect the water that runs off during defrosting. If it looks in danger of overflowing, using an old tea towel to absorb some of the water will prevent you from having to move a precariously water-filled tray.
You may also want to lay down some old newspapers or towels to collect any other icy runoff that gets away from you, and to have a mop handy just in case.
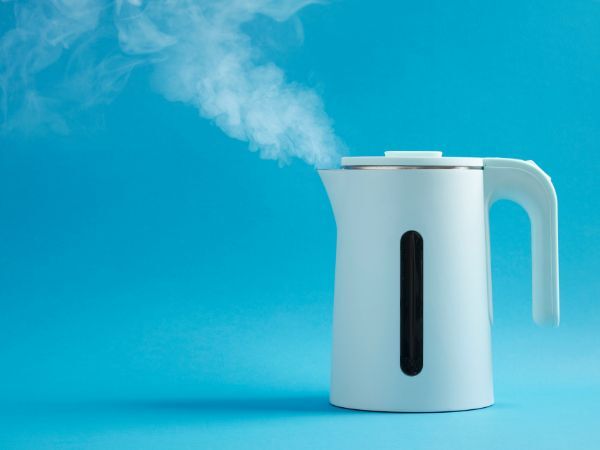
4. Use hot water
To accelerate the defrosting process, carefully fill a bowl or tray with hot or boiling water and place it inside the fridge or freezer. The heat and steam will help the ice melt more quickly.
Keep in mind that fridges are designed for cold temperatures, not hot ones, so it’s a good idea to place a towel under the bowl to protect the interior surfaces. Alternatively, you can soak a cloth in hot water and use it to rub down the icy areas. The warmth will help loosen stubborn ice, especially in hard-to-reach spots.

5. Carefully remove larger chunks of ice as you go
If there are big chunks of ice clinging to your fridge or freezer interior, it’s a good idea to try and dislodge these once they’ve been loosened a little by thawing. This ensures they won’t drop off and damage your fridge, and should help speed up the overall defrosting process.
Using something like a warmed wooden spoon or plastic spatula is better than a fork, knife, scissors, or old-school icepick, as these soft, rounded tools are far less likely to accidentally puncture the walls of your fridge or freezer (which is something you really don’t want to do).
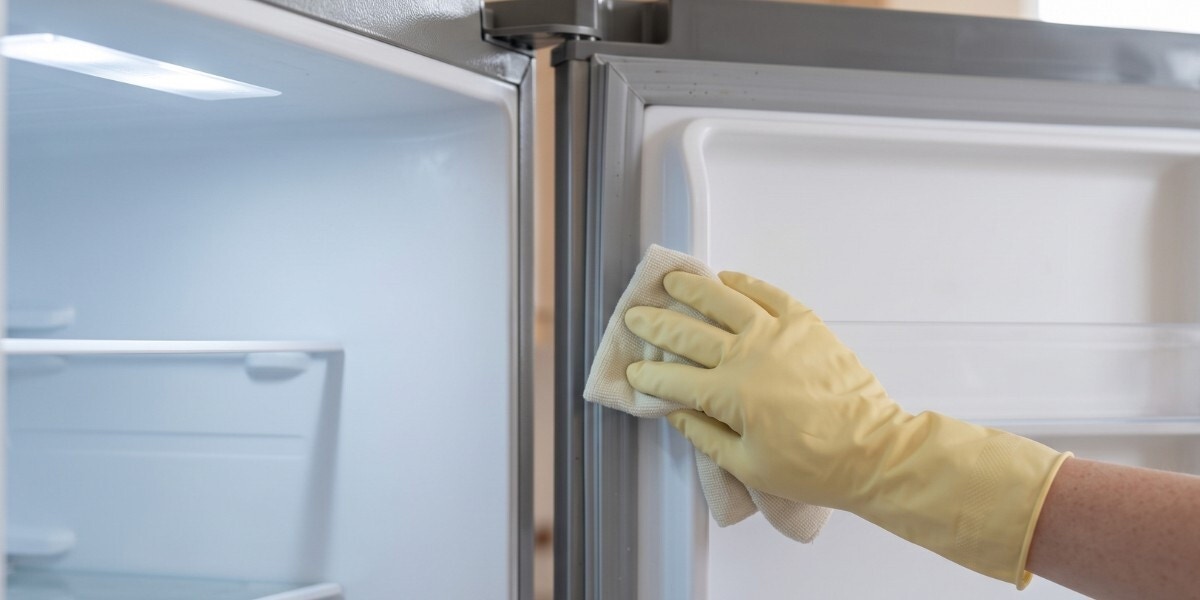
6. Give your fridge a clean
You may have already washed the removable shelves and drawers, but why should they be the only bits that get a spring clean? Once the frost has melted, take the opportunity to give your fridge a proper wipe down and freshen it up. Your fridge will look great and smell a lot better too!
7. Dry it off
Once your fridge or freezer is clean, make sure there isn’t any moisture clinging to its inner surfaces before trying to plug it back in and turn it on. That should minimise the risk of any ice re-forming.
8. Get everything back to normal
If you had to move your fridge during the defrosting process (say, moving it away from the wall), let it sit and settle for a while before you switch it back on, so you can be confident that the refrigerant is back in its proper place.
While you can put the shelves and drawers back in place straight away, wait a little while before you start returning your food and drink to its proper place. This will ensure the fridge is back at an ideal storage temperature, so your food can spend the smallest amount of time in the bacterial growth-inducing 'danger zone'.
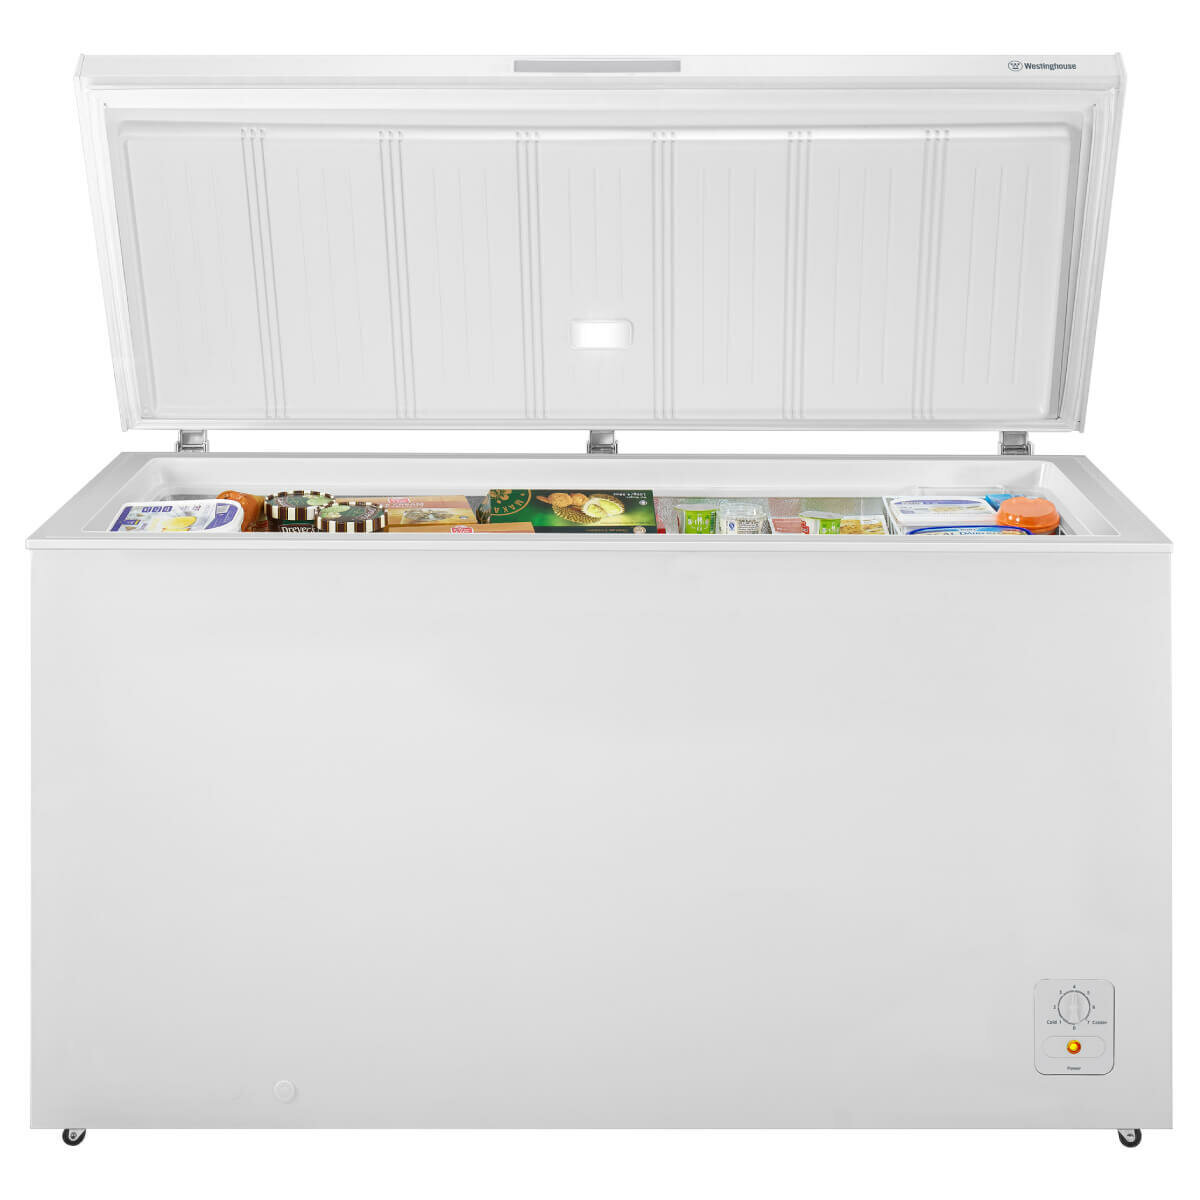
A note on chest freezers
Chest freezers are a bit different from upright fridges and freezers. Because these open from the top, rather than the front, there isn’t anywhere for the melted ice to drain away when they’re defrosting.
Rather than tipping your freezer over, check to see if there’s a drain hole somewhere around the base. Just place a container in front, then unplug the drain to release the melted ice.
Consider a replacement
You generally shouldn't need to buy a new fridge or freezer just because the old one has got iced up. That would be massively wasteful, especially if the old machine still has a bit of life left in it.
That said, if you find yourself needing to regularly defrost your fridge or freezer, it may be worth thinking about upgrading to a less labour-intensive model. Most new fridges and freezers are either designed to be frost free (so moisture doesn’t cling to their surfaces), or to defrost themselves, whether automatically or at your discretion. Just activate the Defrost function to eliminate ice and moisture before it starts becoming a problem.
Not only will you save the time and effort wasted on manual defrosting, but your new appliance should run more efficiently, saving you money on energy bills as well.

After joining Appliances Online, Mark learned more than he ever expected to know about washers, dryers and fridges, and discovered a knack for solving everyday problems using typical household appliances. When he’s not toiling at his day job, Mark tries to find time to write the next bestseller and draw satirical cartoons, but is too easily distracted by TV, music and video games.
Latest Articles

HOME LIVING+
14 JULY 2026
Our Top 5 Best-selling Robot Vacuums in 2026
Smart cleaning, less effort
BBQ & OUTDOOR
10 JULY 2026
10 of our Top Best-Selling built-in BBQs in Australia 2026
Sleek and powerful integrated BBQs for outdoor kitchens.
LAUNDRY
9 JULY 2026
Too expensive to run a dryer? It doesn't have to be
Dryer tech has become more energy efficient and affordable
More Like This
HOME LIVING+
14 JULY 2026
Our Top 5 Best-selling Robot Vacuums in 2026
Smart cleaning, less effort
BBQ & OUTDOOR
10 JULY 2026
10 of our Top Best-Selling built-in BBQs in Australia 2026
Sleek and powerful integrated BBQs for outdoor kitchens.